How To Bake Perfect Artisan Bread Every Weekend
Are you tired of spending money on mediocre artisan bread from the store that never seems to live up to its name? Or maybe you’re a seasoned baker looking to perfect your weekend baking routine? Look no further, because in this article, we’ll be sharing our top tips and tricks to bake perfect artisan bread every weekend. From choosing the right ingredients to mastering the baking process, you’ll soon be able to enjoy fresh, crusty, and delicious bread in the comfort of your own home. Let’s get started!
Choosing the Right Ingredients
The key to baking perfect artisan bread lies in choosing the right ingredients. While the recipe may seem simple, the quality of your ingredients can make or break your bread. Here are a few things to keep in mind:
Flour
When it comes to flour, opt for a high-quality, unbleached flour with a protein content of around 12-14%. This will ensure that your dough has enough gluten to rise and develop its signature chewy texture.
Yeast
Active dry yeast and instant yeast are the most commonly used types of yeast for bread baking. Both will work just fine, but keep in mind that active dry yeast needs to be activated in warm water before using, whereas instant yeast can be added directly to the dry ingredients.
The Baking Process
Now that we have our ingredients sorted, it’s time to talk about the baking process. Artisan bread requires a longer fermentation and proofing time compared to other types of bread. This allows for the development of flavors and a chewy texture. Here’s how to do it right:
Mixing and Kneading
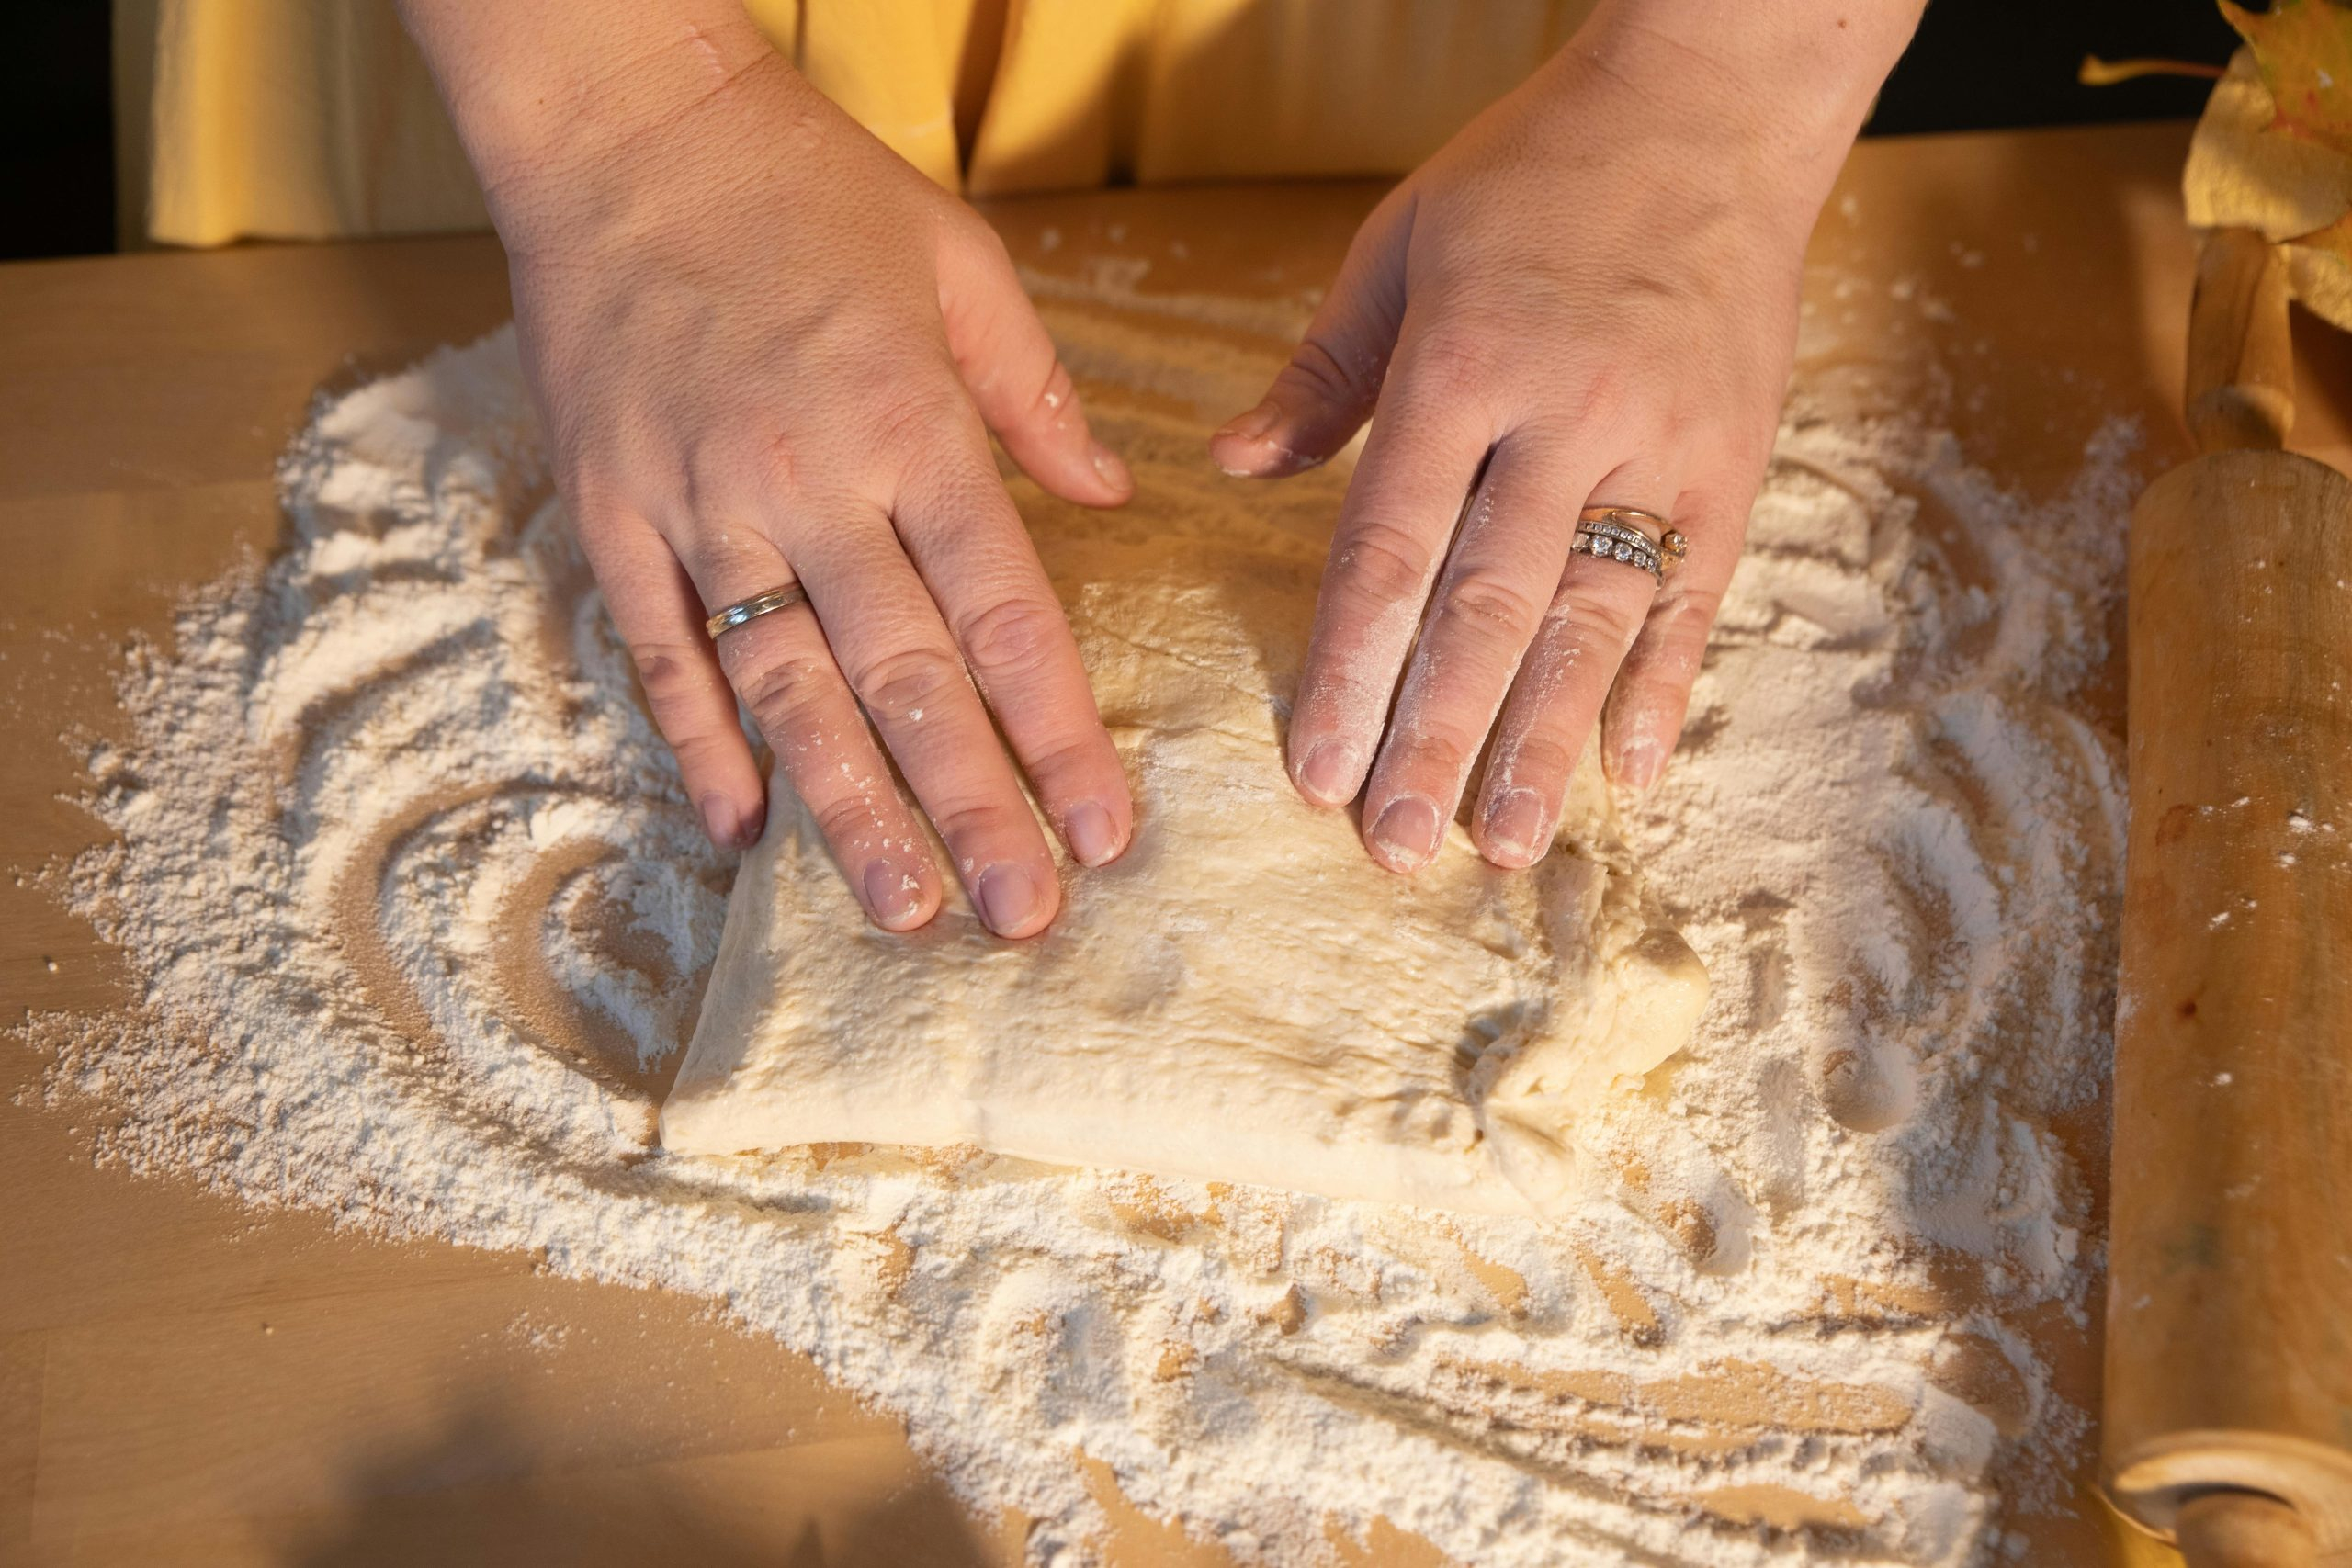
The first step is to mix your ingredients together until a shaggy dough forms. Then, knead the dough for about 10-15 minutes until it becomes smooth and elastic. This will help develop the gluten, which is essential for achieving that chewy texture.
Fermentation
After kneading, the dough needs to go through a fermentation process. Place the dough in a greased bowl and cover it with plastic wrap. Let it sit at room temperature for 1-2 hours, or until it has doubled in size. This allows the yeast to work its magic, creating air bubbles that give the bread its texture and flavor.
Shaping and Proofing
Once the dough has risen, it’s time to shape it into your desired shape, whether it’s a round boule or a long baguette. Place the shaped dough on a baking sheet and let it proof for another 45 minutes to an hour. This final rise allows the dough to relax, making it easier to bake and resulting in a better texture.
Baking and Storing
The final step is baking your bread to perfection. Preheat your oven and place a pan of water on the bottom rack to create steam, which will help give your bread that crispy crust. Score the top of the dough with a sharp knife and bake for about 25-30 minutes, depending on the size of your loaf. Once baked, let the bread cool for at least 15 minutes before slicing into it.
Artisan bread is best enjoyed fresh out of the oven, but if you have any leftovers, make sure to store them in a paper bag to maintain the crustiness. Avoid storing the bread in a plastic bag, as this will cause it to become soft and soggy.
Conclusion
Baking perfect artisan bread every weekend might seem like a daunting task, but with the right ingredients and techniques, it’s entirely achievable. Remember to take your time and let the dough go through each step of the fermentation process for the best results. So why not give it a try this weekend? Once you take that first bite of your freshly baked bread, you’ll never want to buy store-bought again!


